Magisters' Terrace M+ Guide: All 4 Bosses and the Push-Key

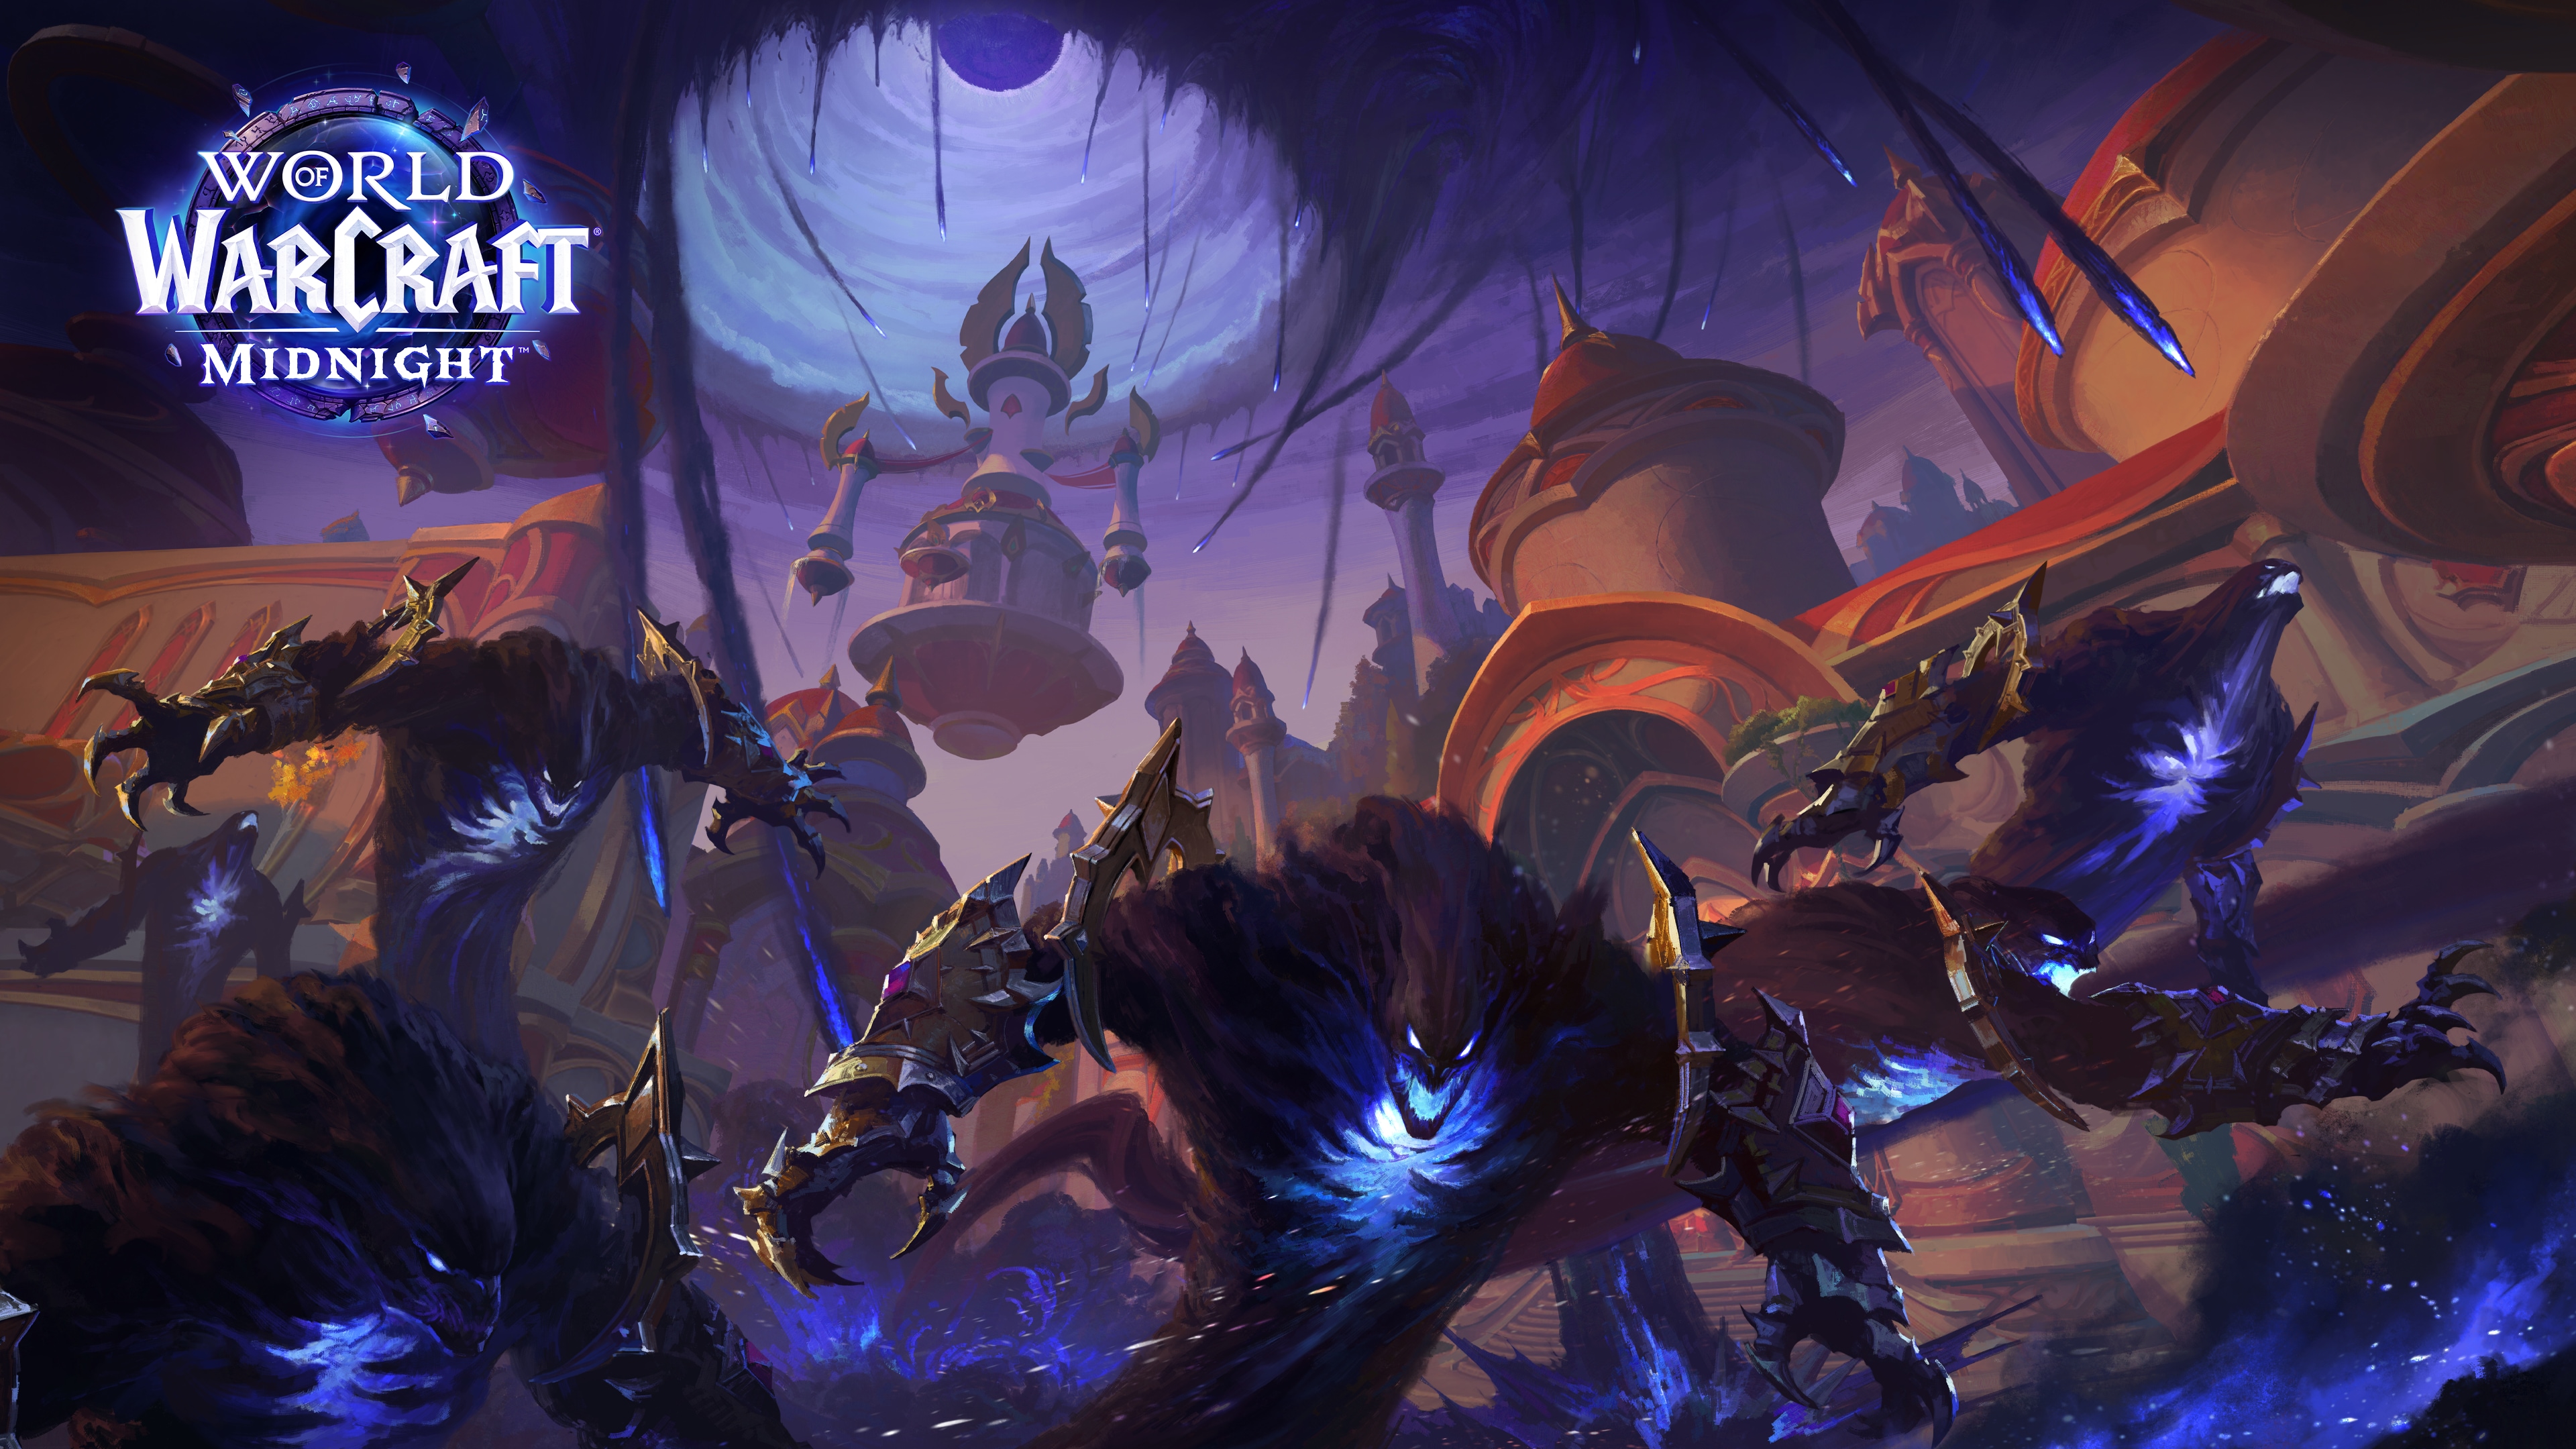
A Reborn Magisters' Terrace
The classic Burning Crusade dungeon location is back, but the boss lineup is brand new. Where Selin Fireheart, Vexallus, Priestess Delrissa, and Kael'thas Sunstrider once stood, you now face four void-touched magister experiments: Arcanotron Custos, Seranel Sunlash, Gemellus, and Degentrius.
The dungeon entrance sits at coords 63.00, 15.00 on the Isle of Quel'Danas, unlocks at level 90, and is in the Season 1 Mythic+ rotation. Item level drops: 214 Normal, 230 Heroic, 246 Mythic 0.
Magisters' is one of the longer M+ dungeons in the rotation thanks to the multi-floor layout — count on roughly 25-30 minutes for a clean +12 timer.
Pre-Dungeon Buff: Don't Skip It
Before you start fighting, head to the library section and click the Arcane Tome. Doing so applies Arcane Empowerment — a +5% haste buff for 30 minutes that persists through deaths. The buff alone is worth roughly half a key level of throughput; skipping it is the most common single mistake new groups make.
Boss 1: Arcanotron Custos
The opener and a clean dispel-and-soak check.
Key Abilities
- Ethereal Shackles — magic debuff that needs to be dispelled. If left on, it ticks for severe damage; have a defensive ready as a fallback.
- Arcane Expulsion — wide AoE with knockback. Watch for the Arcane Residue that lingers on the ground after — it's a positional damage zone you have to avoid for the rest of the encounter.
- Refueling Protocol — Arcanotron starts taking 20% increased damage. Energy Orbs spawn and travel toward him; you have to soak them or they reach the boss and trigger group-wide damage. Each soak applies a stacking Unstable Energy debuff, so soaking has a hard cap per player.
- Repulsing Slam — tank-targeted heavy hit. Active mitigation required.
Role Notes
- Tank: Pre-pop a defensive on Repulsing Slam. Position the boss away from Arcane Residue zones — Magisters' has tight pull spaces and you'll lose melee uptime if you forget.
- Healer: Dispel Ethereal Shackles immediately — never let it tick more than once. Top players before each Arcane Expulsion.
- DPS: Coordinate Energy Orb soaks. The Unstable Energy debuff stacks fast; rotate soakers to avoid one player getting locked out. Push hard during the 20% damage window of Refueling Protocol.
Boss 2: Seranel Sunlash
The suppression-zone fight. Built around forcing the group into a small protective bubble at specific moments.
Key Abilities
- Runic Mark — debuff applied to random players. Walk into the Suppression Zone to trigger Feedback and clear the mark.
- Wave of Silence — long-cast AoE silence + damage. Everyone needs to be under the Suppression Zone when it lands. If you're caught outside, you can't cast for the duration plus you eat damage.
- Hastening Ward — Seranel buffs herself. Party dispels remove it; if no one dispels, the tank needs to pop a major cooldown to survive the buffed melee swings.
- Null Reaction — stacking debuff that builds throughout the fight. Manage your stacks during the Suppression Zone phases.
Role Notes
- Tank: Have a major cooldown ready in case Hastening Ward survives a few seconds. Position the boss near (but not in) the Suppression Zone so DPS can move efficiently.
- Healer: Spot-heal Runic Mark targets between casts. Deploy externals on the tank during un-dispelled Hastening Ward windows.
- DPS: Get into the Suppression Zone before Wave of Silence completes. Never let it land while you're outside.
Boss 3: Gemellus
The split-target encounter. Gemellus uses Triplicate at pull and again at 50% HP, splitting into three copies that share a health pool.
Key Abilities
- Triplicate — three boss copies, shared HP. Damage to any copy reduces the shared bar.
- Neural Link — debuff requiring you to stand close to the *correct* boss copy to break a shield. The targeting is precise — wrong copy means the shield holds.
- Astral Grasp — channeled ability with a moving Cosmic Radiation damage aura. Use any movement increase to escape it.
- Cosmic Sting — aftermath damage from Void Secretions that drop on the ground.
Role Notes
- Tank: Stay between multiple boss copies as much as possible. Rapid-tab cleave is your friend; the goal is uptime on more than one copy at a time.
- Healer: Watch for Cosmic Radiation aura victims — players without mobility tools need spot-heals or externals to escape.
- DPS: Hit all three copies for maximum damage flow. During Astral Grasp, time your mobility cooldowns; sitting in the channel is significant damage you don't have to take.
Boss 4: Degentrius (Final)
The wall. Most pug groups die here on +12 and above. Built around the "pizza-slice" room positioning system.
Key Abilities
- Unstable Energy Ball — the signature mechanic. The party spreads into pizza-slice positions across the room. The ball bounces between players; missing a catch means the entire party stacks Void Destruction. A few stacks of Void Destruction is a wipe.
- Void Torrent Beams — environmental hazard zones between safe pizza slices. Touching them is heavy damage.
- Hulking Fragment — tank-targeted ability that drops ground hazards. Tank has to manage placement carefully so DPS can navigate.
- Umbral Splinters — applies a debuff that drops Stygian Ichor zones on movement. Coordinate where you walk.
- Devouring Entropy — sustained group damage that overlaps with Unstable Void Essence stacks. Major healing cooldown window.
Role Notes
- Tank: Don't clip your party during Hulking Fragment — keep boss positioning clean for the rest of the group's pizza slices. Place Umbral Splinters Stygian Ichor zones outside the standard DPS lanes.
- Healer: Pop major cooldowns during Devouring Entropy, especially when it overlaps with Unstable Void Essence ramping. The healing pressure peaks during these stacked windows.
- DPS: Perfect positioning is the entire fight. Missing one Unstable Energy Ball catch is a near-wipe. Practice the spacing in low keys before you push high keys.
Trash Priorities
A few mob types deserve specific attention:
- Magister Apprentices — stack Arcane Bolt debuffs that require interrupts on a rotating priority. Assign two players to the kick rotation.
- Crystalcore Mechanoids — heavy physical-damage shields. Purge them before bringing them low or the DPS stalls.
- Ethereal Patrols — patrol routes overlap with the main hallway. Pull them late so they don't add to a current pull.
- Void-Tainted Magisters — apply a healing-debuff aura. Kill priority over standard mobs.

M+ Affix Considerations
- Tyrannical weeks — Degentrius becomes the pacing limit. Don't push above your gear comfort level.
- Fortified weeks — the trash density punishes weak interrupt rotations. Bring kick-heavy specs.
- Bursting — Energy Orb soaks on Arcanotron compound the debuff problem. Stagger soakers more carefully.
- Sanguine — Hulking Fragment ground hazards on Degentrius are worse because puddles overlap.
- Volcanic — pizza-slice positioning on Degentrius gets even tighter when Volcanic adds environmental hazards. Use mobility CDs liberally.
Class Picks That Excel Here
Magisters' Terrace rewards groups with strong dispel coverage (multiple Ethereal Shackles dispels per minute), reliable interrupt rotation (every Apprentice and Seranel cast matters), and high mobility for the Astral Grasp and Unstable Energy Ball dance on the back-half bosses.
Havoc DH and Demonology Warlock are the standout DPS picks here — Havoc's Shift mobility solves the pizza-slice positioning, and Demonology's Imps wreck the boss copies on Gemellus. Brewmaster Monk handles the tank role best because Stagger smooths Repulsing Slam and Hulking Fragment.
Key Loot
The dungeon's signature drop is the ![]() Lucent Hawkstrider — a low-rate mount drop from any boss in the dungeon. Farm-able outside the weekly lockout if you run friend keys; lockout-free for repeat attempts since the mount drop isn't tied to weekly Vault progression.
Lucent Hawkstrider — a low-rate mount drop from any boss in the dungeon. Farm-able outside the weekly lockout if you run friend keys; lockout-free for repeat attempts since the mount drop isn't tied to weekly Vault progression.
Related Reading
- All 8 Midnight Dungeons Guide — overview of the full rotation
- Maisara Caverns M+ Guide — sister M+ rotation dungeon in Zul'Aman
- Spec Tier List — tank, healer, and DPS picks for M+
- Mount Guide — the Lucent Hawkstrider in context
Buy or sell World of Warcraft accounts?
Browse verified World of Warcraft accounts at AccountShark, or list your own for cash. Screened sellers, secure account handoff, and warranty support after the sale.