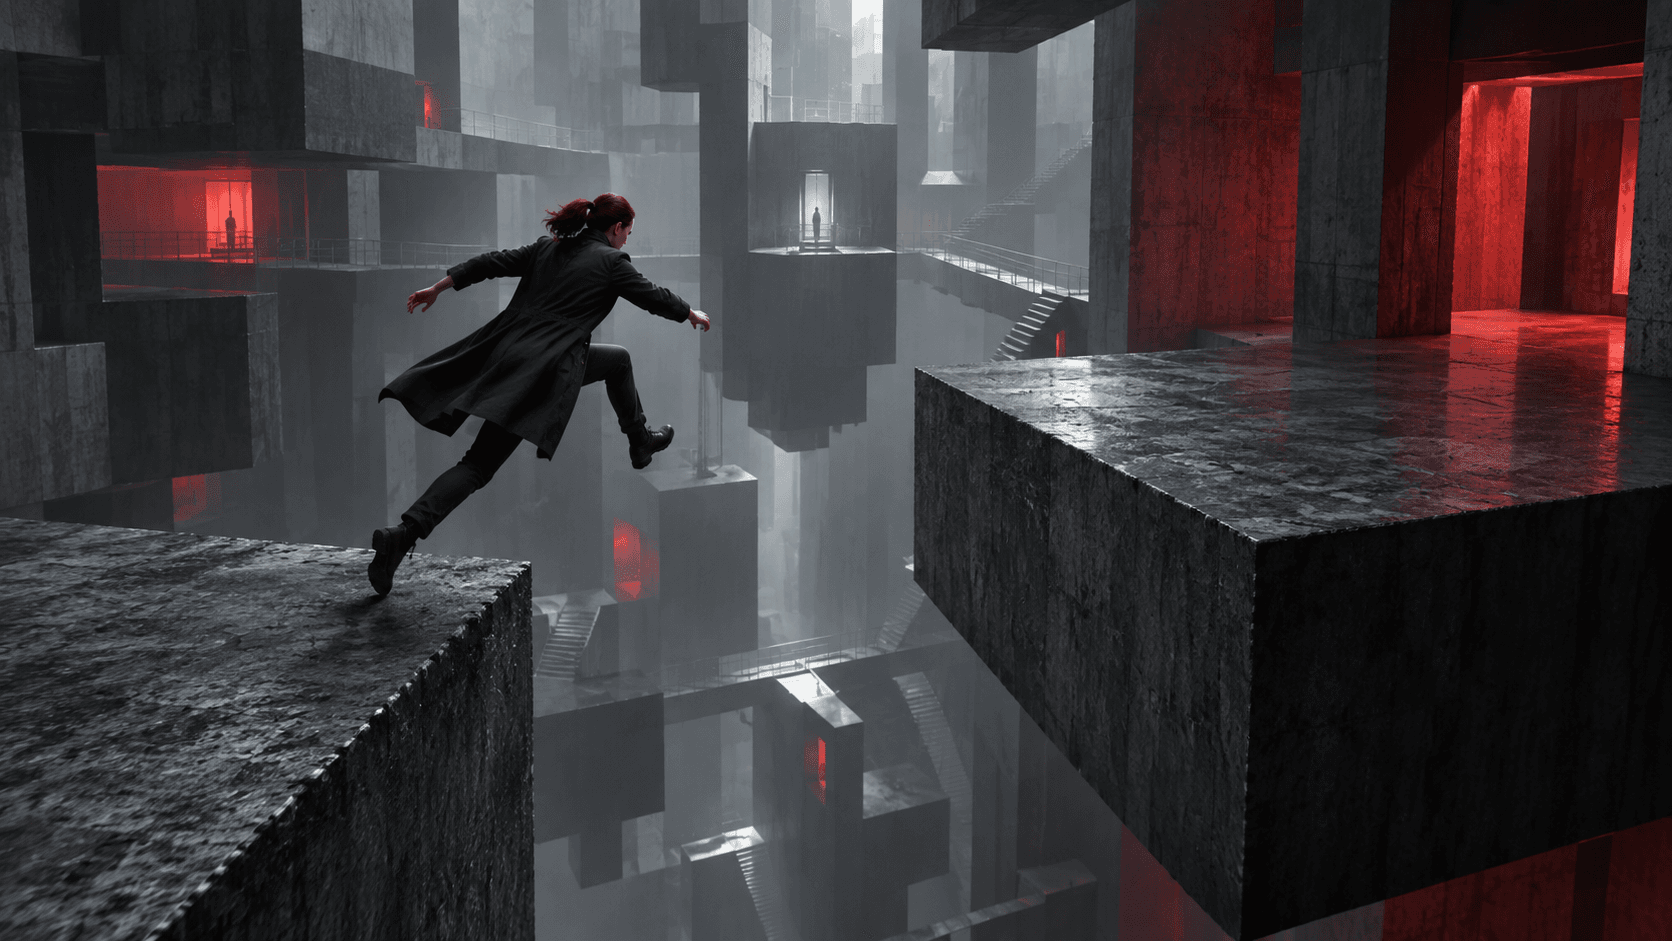
Control Resonant Beginner Guide: Traversal Unlock Order, Talents & Early Mistakes
Control Resonant launched on September 24, 2026 for PlayStation 5 and PC (Steam). Remedy’s sequel moves the paranatural fight out of the Oldest House and into a warped Manhattan, with Dylan Faden as the shy, melee-heavy lead. If you just finished Orientation and feel lost under fogged maps, Gravity Anomalies, and Resonant pressure, this guide is the early-game path that keeps you progressing instead of soft-locking yourself.
You will get a clear traversal unlock order, a practical talent plan for your first points, and the early mistakes that waste hours. Official framing for the launch window sits on the PlayStation Blog hands-on and the Steam store page.
What kind of game you are dropping into
Control Resonant is an action-adventure RPG with dense zone sandboxes, not a seamless open-world checklist. Missions range from Hiss clears and missing-person cases to machine repairs and memory recreations. You can prioritize the main story, the Search for Jesse thread, or side stories, and each zone has arcade cabinets and world feats for timed challenge rewards.
Combat is stricter than a power fantasy. Rushing in gets you a red game over screen fast. Dylan’s kit is melee-first through the shapeshifting Aberrant weapon, with Combat Abilities that spend Power you refill by hitting things. Executions on stunned enemies (L3 on controller) keep the loop healthy. Treat every fight as a dodge-and-strike puzzle until your Aberrant Strength catches the zone.
First hour priorities after Orientation
Finish Orientation, beat the first Resonant (The Artist), and unlock The Gap. Until The Gap opens, you cannot spend Talent Points or properly upgrade Aberrant forms. After that, do these in order before you wander:
- Reveal the zone map. Fog hides everything until you activate the district pylon. Find the antenna icon, activate the three sensors the pylon dishes point toward, then return to the pylon. Do this the moment you enter a new zone.
- Visit The Gap early and often. Hold G on keyboard or Down on the D-pad outside story lockouts. Spend Source and materials on Aberrant upgrades, craft Artifacts, and park Talent Points. If enemies suddenly melt you, you skipped a Gap visit.
- Find the zone vendor. Ice cream trucks double as shops and often hide a health upgrade stand nearby. Vendor stock expands as you raise zone level.
- Grab Health and Power crates while exploring. These permanent pools matter more than shiny cosmetics in week one.
- Queue the Incursion Fault before you deep-dive collectibles. Shift unlocks vertical roads and is the first real traversal gate.
Traversal unlock order (do not skip this)
Traversal abilities come from Dimensional Fault rituals tied to Jesse. Combat Abilities come from Resonants. Mixing those up is the number one beginner confusion.
Recommended unlock order
| Order | Fault | Where | Unlocks | | --- | --- | --- | --- | | 1 | Orientation Fault | Opening mission (unmissable) | Rush, Elevate, double jump, air dash | | 2 | Incursion Fault | West Incursion Zone (Parking Garage) | Shift | | 3 | Subway Fault | Evacuation Zone (Railyard Street Station) | Reach | | 4 | Underpass Fault | Underpass (during Recursions and Iterations) | Story progress (no new movement power) | | 5 | Final Fault Ritual | Late main story | Story closeout |
The Search for Jesse Faults have a hard dependency chain: Incursion → Subway → Underpass. Subway needs Shift. Underpass needs Reach. If Recursions and Iterations stalls on an orange pipe island, you skipped Reach, not a bug.
What each ability actually does
- Rush: Burst sprint that also clears status ailments. Talent Extended Rush triples duration and should be an early Talent Point. Talent Cleansing Rush clears ailments twice as fast.
- Elevate: Midair hover. Hold jump to float over Hiss goo and control long drops. You will need it inside Fault platforming.
- Shift: Aligns Dylan’s gravity with Gravity Anomalies so you can walk vertical roads, walls, and patterned surfaces. Gates the Theater route to the Dancer Resonant, Subway Fault access, and many collectible rooftops.
- Reach: Grapple toward Reach Points (warped spherical orbs on ledges and rooftops). Without it, those orbs do nothing. Underpass Fault and many rooftop routes stay closed until Subway Fault is done.
How to start each early Fault without wasting time
Incursion Fault (Shift): Enter West Incursion Zone, clear the west checkpoint, and use the elevator near the vertical road (you cannot Shift yet). The Parking Garage is locked; the guard note sends you to Wear’Em & Wash’Em. Enter through the alley, Elevate over goo, take the key from the Hiss-affected guard, unlock the garage, ride to the rooftop, drop into the warped pit, and finish the CRT / Astral ritual with Jesse.
Subway Fault (Reach): After Shift, go to northeast Evacuation Zone through the mold parking lot. A Jesse vision near Railyard Street Station starts the quest if it is missing from your log. Use Shift on Patterned tracks, Elevate to control tunnel drops, finish the ritual, and complete the Reach tutorial.
Underpass Fault: During Recursions and Iterations, fast travel to The Spire, Reach across to the orange pipe island, drop under the platform to the TV, and finish the ritual. Then return to the beacon to close the mission.
Jesse’s giant face in the environment is your Fault billboard. When you see it, stop sightseeing and clear the ritual.
Talents: how they work and what to buy first
Talent Points come from raising zone levels through story beats, side content, and activities. The Talent shrine lives in The Gap. Paths are gated, so earlier nodes unlock later ones. Full respecs are free, so experiment, but your first points should not be random.
Strong early combat path (dodge and counter)
For a standard melee beginner kit, push the left-side combat nodes before summon depth:
- Perfect Dodge (Tier 3): Perfect timing grants Retaliation, boosting your next attack’s damage and Falter.
- Retribution (Tier 4): Retaliation deals more Falter.
- Agile Response (Tier 5): Dodge attacks deal more damage and Falter.
- Decisive Step-up (Tier 7): Executions grant Keen (crit chance on melee for a short window).
- Reactive Detonation (Tier 7): Perfect Dodge during Ignite burns nearby enemies.
- Extended Retaliation / Restorative Dodge (Tier 9): Extra Retaliation charge or small heal on Perfect Dodge.
Summon-leaning path (optional)
If your Combat Ability is summon-heavy (Volatile Anomaly style kits), pivot right-side:
- Guarded Formation (less damage near summons)
- Restorative Summons (extra Health Elements from summon kills)
- Enduring Ally (longer summon lifetime)
- Later: Better Together, Parting Blast, Team Morale
Dominance and Power economy talents
Dominance (Tier 1) is a massive early pickup: big melee damage after Executions and Primary/Combo Finishers, plus extra Health Element drops for eight seconds. Later Dominance extenders (Extended Dominance, Heightened State, Restorative Dominance) turn Executions into sustain engines. Combat Recharge and Impressive Comeback help if you keep running dry on Power mid-fight.
Aberrant Strength, forms, and The Gap buildcraft
Aberrant Strength is the single damage number that decides whether a Hiss pack is farmable or a death loop. You raise it only by unlocking upgrades on Primary Forms, Secondary Forms, and Combo Finishers in The Gap. Talent Skills do not raise Aberrant Strength. They add conditional power.
Practical early rules:
- Buy the combo finisher as soon as you hit the Aberrant Strength gate that unlocks it (around Strength 15 in early progression). It adds a free hit to strings you already throw.
- Invest in your active Primary and Secondary forms first, but remember upgrades on unused forms still raise global Aberrant Strength. If you need a raw bump, buying into another form is valid.
- Keep a blunt or armor-breaking option for Mold and heavy targets. Dual-blade style forms generate Power well for beginners; hammer-style forms smash armored shells.
- Match Artifacts to the next Resonant. Resistances and status synergy matter more than fashion.
- Spend Power aggressively. Abilities drive Falter. Hoarding Power for “emergencies” starves your stun and Execution loop.
Early mistakes that stall beginners
1. Skipping Faults until the story hard-blocks you
Vertical roads, floating orbs, and the Underpass island are ability gates. If something “does not work,” check Shift and Reach before you assume a glitch.
2. Killing Resonants underleveled
Defeating a Resonant refreshes zones, respawns enemies, and raises difficulty while unlocking a Combat Ability. Clear side activities, vendors, and map sensors first. Walking into a Resonant at bare minimum Aberrant Strength can soft-brick your comfort in every previous district.
3. Ignoring map pylons and vendors
Exploring fog without sensors wastes time. Vendors sell the exact upgrade mats you are hunting Hiss for.
4. Treating locked doors as dead ends
Wooden doors break with secondary forms. Garage doors need electrical boxes. Red goop doors clear when you kill the linked bigger enemies. Mold doors need fire. Metal doors want Crush or Ground Slam. Security doors need FBC clearances from Contain the Crisis and side quests. Always look for a roof entry before you leave a building marked interesting.
5. Playing pure turtle
Low aggression means low Power regen and fewer Health Element drops. Dodge into openings, spend abilities, stun, Execute, and let Dominance carry sustain.
6. Focusing elites while trash shreds you
When health is melting, clear lesser enemies for blue Health fragments, then re-engage heavies. In other packs, mark elites if trash keeps respawning until the big target dies. Read the encounter.
7. Never reading collectibles
Files and notes carry puzzle hints and lore. Skipping all of them is fine for speed, but the first time a machine puzzle bricks you, go back and read.
8. Leaving Assist Mode unused out of pride
Assist Mode can lower incoming damage, widen Perfect Dodge windows, or raise challenge. Achievements still unlock. Use it if a Resonant is teaching the wrong lesson.
Soft mid-campaign combat loop that works
A reliable early loop looks like this:
- Enter zone → unlock map → vendor check → Gap dump of mats.
- Clear nearby world feats and easy side stories for zone XP and Talent Points.
- Push the next Fault on the Jesse path before collectible completionism.
- Raise Aberrant Strength until trash packs feel controllable.
- Farm a Resonant only when you have a Combat Ability plan and Artifact loadout ready.
- After the Resonant Cycle, re-clear refreshed zones for better drops, then move on.
Platforms, editions, and install notes
Steam lists September 24, 2026, Single-player, HDR, Steam Cloud, and about 120 GB with an SSD required. Minimum calls for 16 GB RAM and a GTX 1070 / RX 5600 XT class GPU; recommended sits around RTX 3060 Ti / RX 6700 XT. The Digital Deluxe Edition adds artbook, soundtrack, Untapped Artifact (Wallet), a starter resource bundle, and an AWE Mission Outfit. Base game is enough for this beginner path; Deluxe only speeds early resource comfort.
If you bounced off the first Control, Resonant still gives a recap trailer from Jesse’s perspective and uses Dylan as an exposition-friendly protagonist. You do not need perfect Oldest House lore to start.
FAQ
Do I need to play the first Control before Resonant?
No. The sequel includes a recap and teaches the setting through Dylan. Prior knowledge helps with Easter eggs and tone, not with day-one systems.
What is the correct traversal unlock order?
Orientation (Rush and Elevate), then Incursion Fault (Shift), then Subway Fault (Reach), then Underpass Fault for story. That is the only order that avoids soft-blocks.
Why will the Underpass Fault not continue?
You are missing Reach. Leave the Underpass, finish Subway Fault in the Evacuation Zone, then return via The Spire.
Where do Talent Points come from?
Raising zone levels through missions and activities. Spend them at the Talent shrine in The Gap after beating the first Resonant.
Can I respec talents for free?
Yes. Full talent resets are free in The Gap, so early mistakes are cheap.
What early talents should I prioritize?
Perfect Dodge, Retribution, Agile Response, Decisive Step-up, Reactive Detonation, plus Extended Rush and Cleansing Rush. Dominance is an excellent Tier 1 pickup for Execution-focused melee.
How do I raise damage if fights feel impossible?
Increase Aberrant Strength by unlocking Aberrant form and finisher upgrades. Talents alone will not fix a Strength gap.
Should I defeat every Resonant?
Not required for a main-story finish, but Resonants unlock Combat Abilities and better long-term kits. Prepare before each kill because the Resonant Cycle refreshes and hardens zones.
Does Assist Mode block trophies?
No. Polygon’s beginner coverage notes achievements still unlock with Assist options enabled.
How big is the PC install?
Steam lists about 120 GB and requires an SSD. Leave headroom for shader caches and updates.
Control Resonant rewards players who treat Manhattan like a set of gated sandboxes. Unlock Shift and Reach on schedule, feed The Gap before every difficulty spike, and spend Talent Points on dodge economy instead of novelty nodes. Do that, and Dylan’s awkward landings turn into confident clears instead of red-screen tutorials.